What should you prepare before hiking? Five must-do things before setting off
Preparing for a hike is about more than just packing your backpack. When encountering weather changes, scheduling delays, or the need for rescue, there are things you must confirm before you set off, such as whether someone back home has your itinerary and whether the team can successfully transmit their location and status.
The following five items serve as a fixed checklist before every trip. The actual content should be adjusted based on whether it is a day hike or a multi-day trek, the season, the team's experience, and site-specific regulations.
1. Prepare a trip plan and share it with a contact person
A contact person is someone who stays back home, holds the complete trip itinerary, and monitors the team’s reports according to an agreed-upon schedule. Ideally, the contact person should understand the trip and be able to hand the information over to fire and rescue services if needed.
Not every route requires a formal entry permit, but every trip should have its own plan. Information should include a list of team members and their contact details, route maps or GPX files, trailhead and transportation arrangements, expected arrival times at key waypoints, accommodation locations, the final turnaround time, estimated time of completion, communication devices, and contingency plans.
Before departure, provide the complete plan to your contact person. Agree on regular check-in times, the acceptable range for delays, the primary communication methods to use if contact is lost, and the conditions under which the fire and rescue services should be contacted. Inform your contact of any last-minute changes to the itinerary. Once safely off the mountain, notify your contact to conclude their duty. If the agreed-upon criteria for seeking assistance are met, the information should be handed over to the authorities for handling; do not attempt a rescue yourself.
Additionally, confirm the trail's status, permit requirements, transportation and shuttle services, and the latest weather reports from the Central Weather Administration. If the forecast, trail conditions, or team health status exceed what you have prepared for, adjust your route or cancel the trip.

2. Take a photo of all your gear while packing
Gear must be prepared according to the duration, altitude, season, weather, and the team's capabilities; there is no single list that covers all routes. At a minimum, check items by function: navigation, warmth and waterproofing, lighting, water and food, first aid, emergency shelter, and communication.
When packing, spread out all the items you are actually bringing and photograph them after verifying them against your list. The photo doesn't need to be staged beautifully; items just need to be clearly visible, and it should be taken close to the departure time. After taking the photo, send it to your contact person or save it where they can access it; do not leave it only on your own phone.
Bringing it doesn't mean you know how to use it. Before leaving, verify how to use your headlamp, offline maps, stoves, and first aid supplies. Also, check the battery levels, fuel, spare parts, and whether relevant apps are working properly.

3. Take full-body photos on the day of departure, and don't forget the soles of your shoes
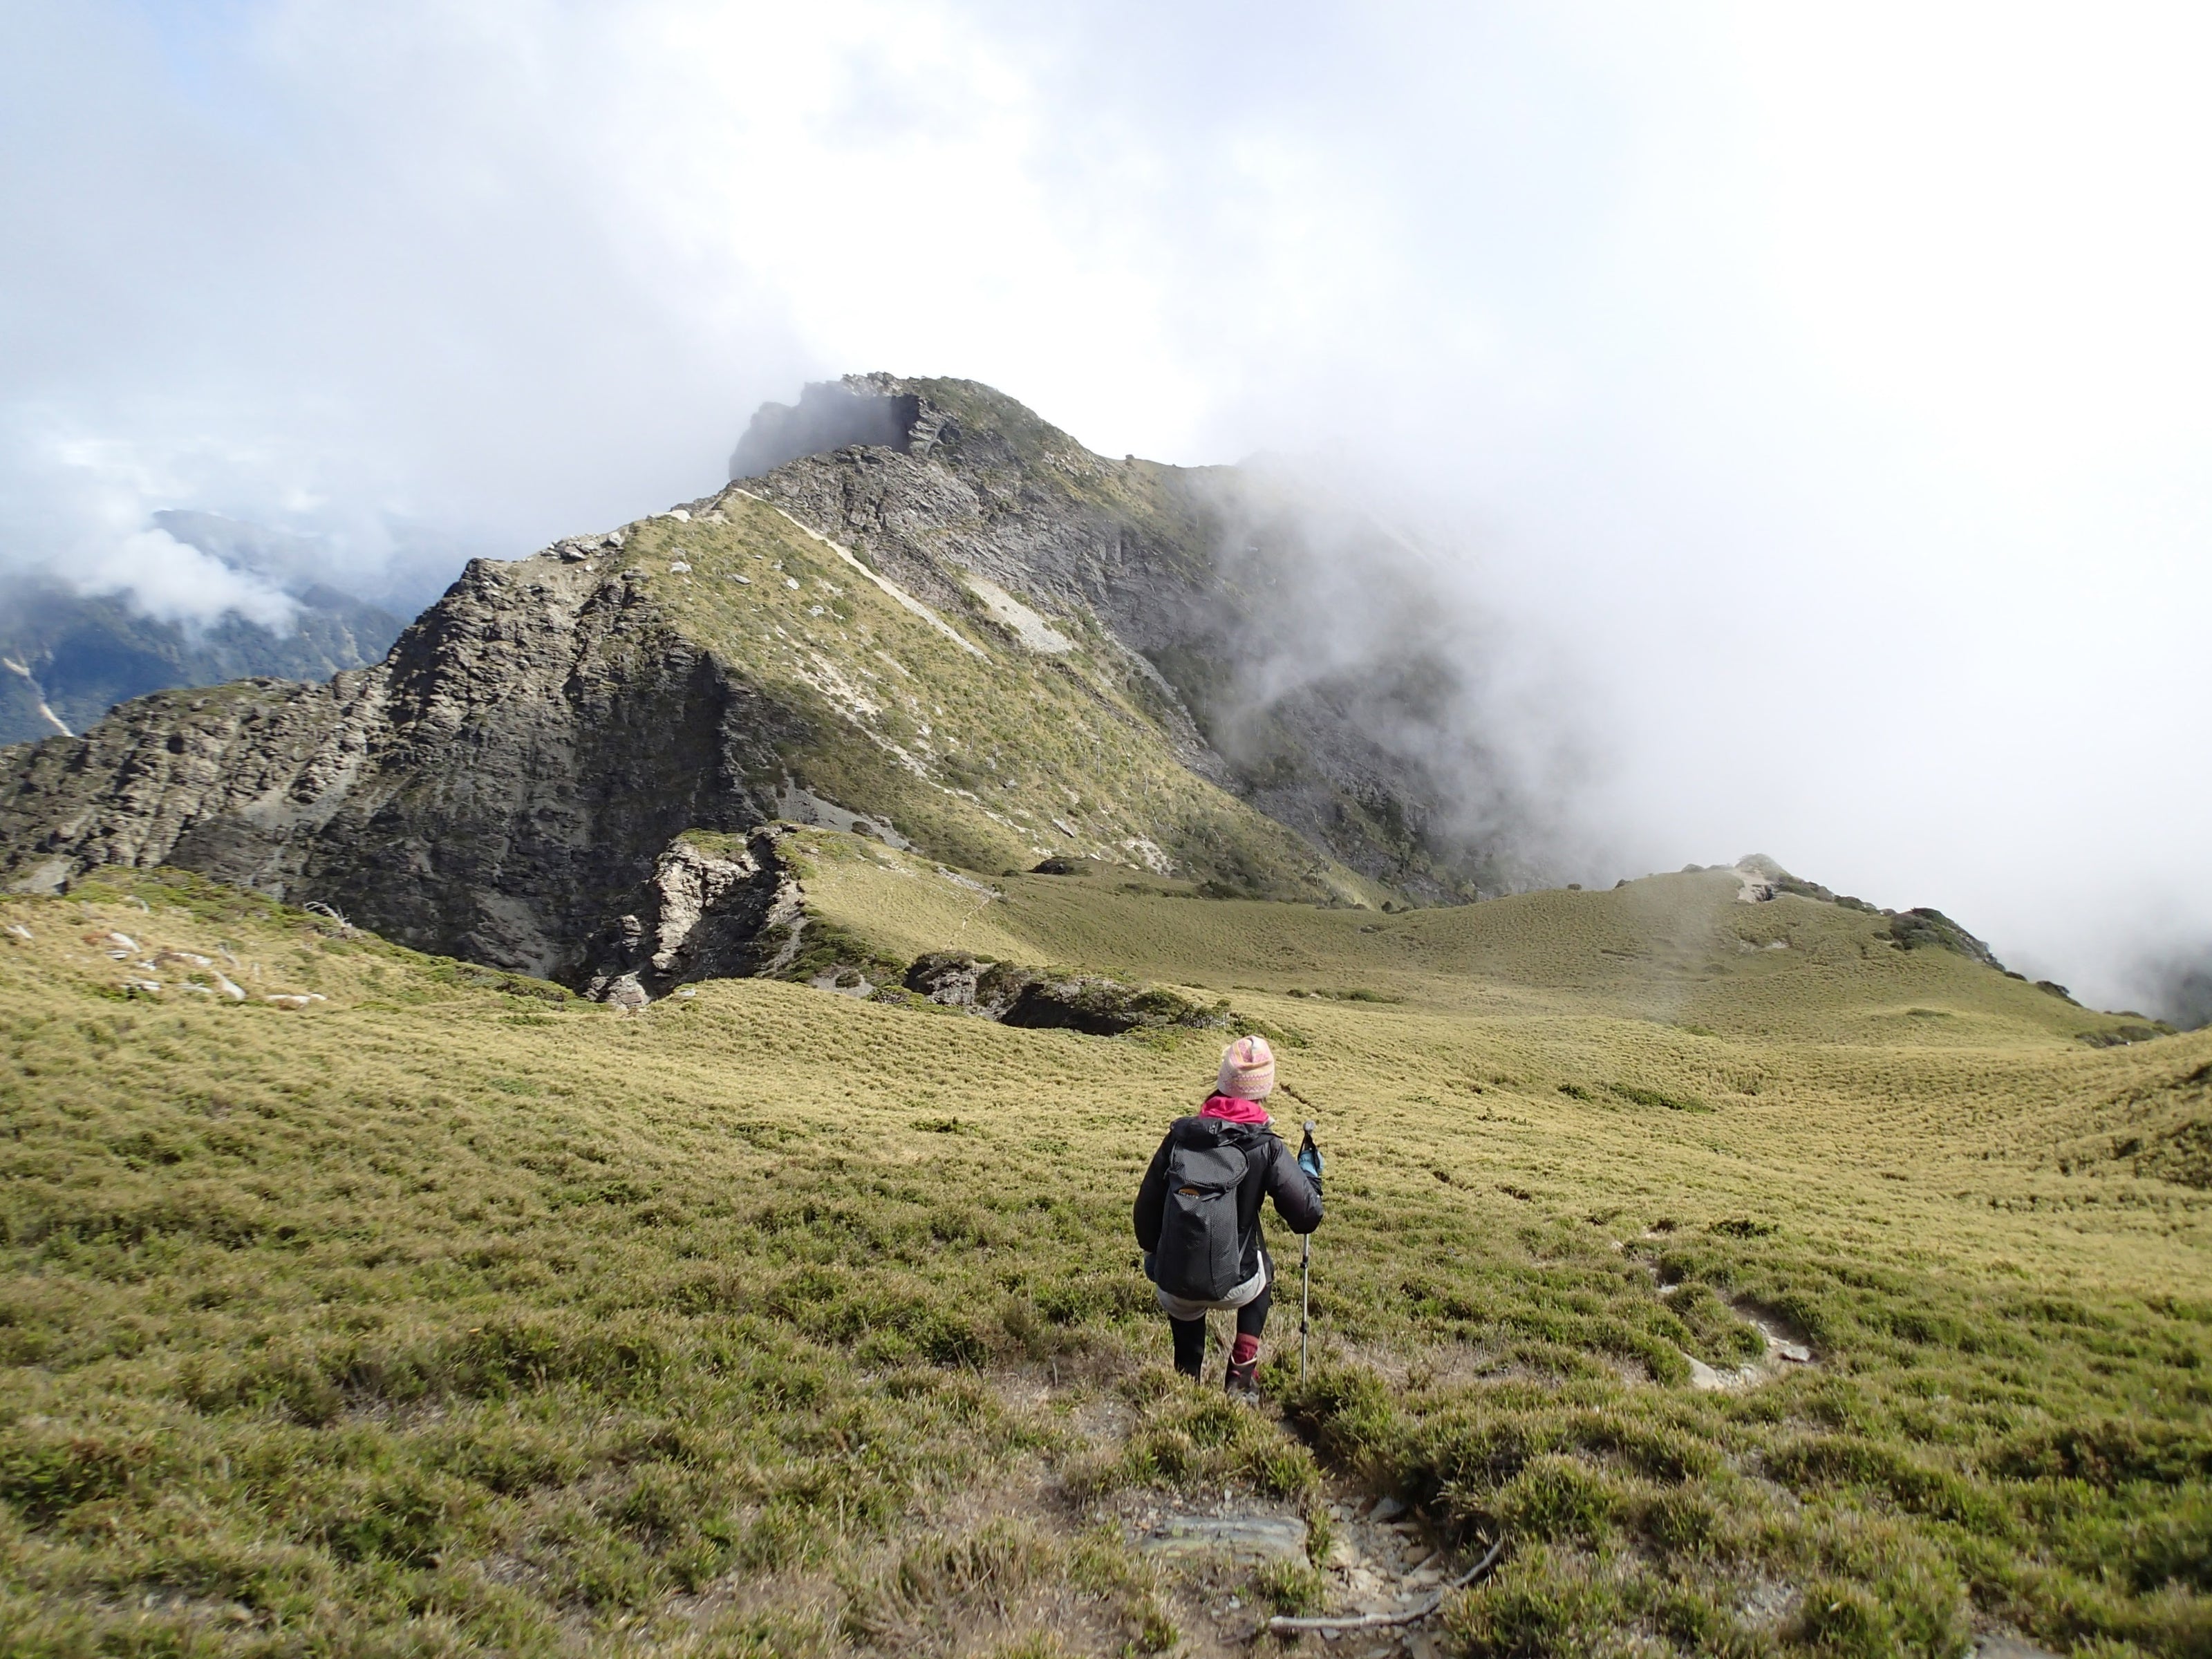
Before leaving or upon arriving at the trailhead, take full-body photos of the team and photos of their shoe soles. The full-body shot should clearly show jacket color, backpack, hat, trekking poles, and shoe style. The sole photo captures the tread pattern and wear, which can serve as a clue for identifying footprints if necessary. These photos cannot replace a complete itinerary, location data, or the latest communication logs.
These photos are records of your actual appearance on the day, which differs from old lifestyle photos on social media. Send them to your contact person while you still have phone reception, and keep them with your itinerary and gear photos.

4. Prepare reporting and satellite communication methods based on signal conditions
Just because a phone can receive a GPS signal doesn't mean it can transmit coordinates. Mountain reception varies based on terrain, service provider, and location, so assess the potential communication conditions on your route and prepare alternatives for emergencies.
If your route may pass through dead zones
Depending on the risks, consider satellite communication devices like a Garmin inReach. Before use, ensure the service plan is active, the app is paired and synced, and it has been tested outdoors.
inReach SOS signals are sent to the Garmin Response international emergency coordination center, which then coordinates with appropriate rescue units; it does not dial 119 in Taiwan directly. Environments such as deep valleys, dense forests, or near cliff walls that obstruct the sky may still delay or interfere with transmission, so this cannot replace offline maps, sound judgment, or a contact person plan.
Understanding satellite communication with inReach when there is no cell signal

Garmin inReach can be used for satellite communication in dead zones; remember to activate and test it beforehand.
If cell signal is available
You can pre-install the "119 Reporting App" (消防防災 e 點通). On first use, enable location services, fill in your information, and verify your network and location status. When using the 119 reporting feature, coordinates can be transmitted to the local fire department's dispatch center, but this still requires connectivity; if you have GPS but no network, the data cannot be sent.
If voice communication is possible, use a phone call. For individuals with speech or hearing impairments, or those unable to speak, text-based reporting is available.
Learn how to configure the 119 Reporting App

The main screen allows you to check location and network status, and select fire, medical, or text reporting.
Regardless of whether you use a phone or a satellite device, keep it in an accessible place, ensure the battery is charged, and carry a backup power source. Use the built-in testing features for trials; do not send actual emergency or SOS reports.
5. Confirm team capabilities and turnaround conditions
Before setting off, confirm that you and your team can operate offline maps, estimate travel times, and use all the gear brought on the trip. Divide roles: decide who is responsible for tracking time and who carries the communication device, and ensure everyone knows the route and contingency plans.
The latest turnaround time and other stopping criteria should be agreed upon before departure. If weather conditions worsen, a team member feels unwell, the pace is significantly lagging, or the turnaround time is approaching, stop and re-evaluate. Do not leave the decision to individual whim in the moment.
If the route includes technical terrain involving climbing, ropes, or snow, you should have received appropriate training; do not rely solely on reading or watching videos to judge your own capability.
Confirm site regulations as well. Stick to established trails, carry out all trash and food scraps, and do not feed wild animals. For more comprehensive practices, read up on the Leave No Trace (LNT) seven principles.

Before leaving, take one more minute to review
- The itinerary, member details, report schedule, delay threshold, and turnaround plan have been provided to the contact person, and a check-in upon return has been agreed upon.
- Gear has been checked according to the route and weather, and photos have been sent to the contact person or stored in an accessible location.
- Full-body and sole photos of the team have been sent to the contact person.
- Reporting apps or satellite communication methods have been configured and tested for the specific environment; phones, devices, and backup power are ready to use.
- All team members understand the route, contingency plans, task distribution, and turnaround criteria.
These five items must be completed before you set off; they shouldn't just remain on your checklist. While no piece of gear can guarantee safety, clear information, reliable communication arrangements, and pre-agreed turnaround conditions allow the team to make decisions earlier when situations change.
Reference
Guidelines from Taiwan’s mountain application portal, fire and rescue service 119 reporting apps, Central Weather Administration mountain weather info, and official Garmin Response documentation. Rules regarding permits, gear, and safety may change; please refer to the latest announcements from managing authorities before departure.